
Subscribing and Posting to the Blog
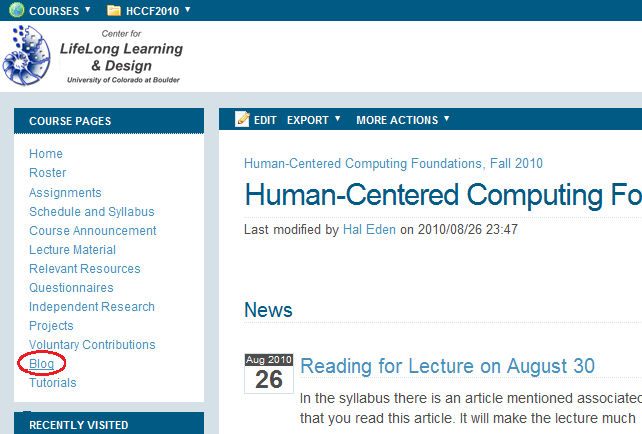
1) Go to the Home page of the course wiki. On the list of course pages, click on Blog.
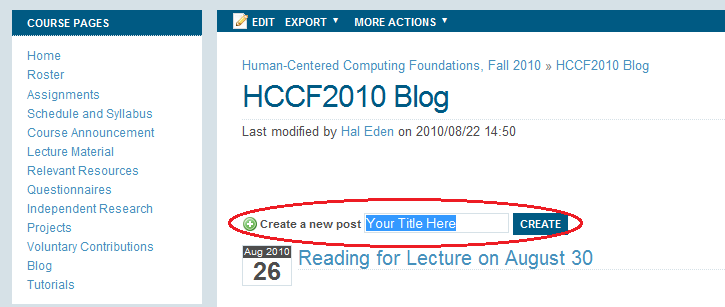
To make a new blog post:
2) In the text box next to Create a new post, type the title of your blog post, and click Create.
3) In the content field, insert your desired content. Eg. pictures, text, videos, links, etc.

In the optional summary field, you may insert a summary of your blog post.

Next, you may choose a category for your blog post, or, click on Add a category to create a new category.
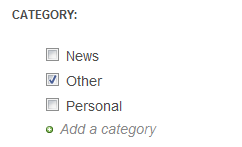
You can also tag your blog post.

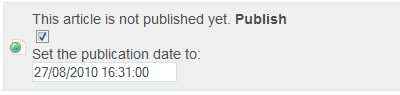
Click on the Publish checkbox to publish your blog. You can edit the publication date.
To finish, click either Save & Continue to save your work, or Save & View to view the finished product.

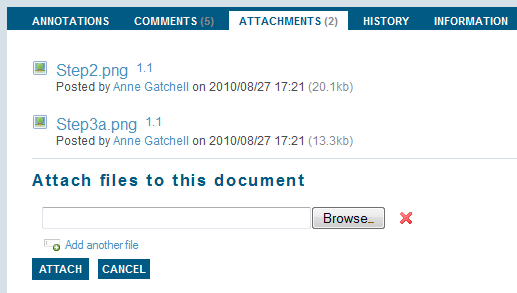
Note: If you inserted pictures in you blog post, check the attachments at the bottom of the finished blog post, and make sure your images are attached. If not, attach them manually.
To subscribe to the blog:
4) While at the page you wish to follow, click on the RSS feed icon in the URL bar of the browser.
(Attempting to subscribe to the RSS feed currently produces an error.)

This tutorial was created by MakeshiftCrew.